
Good Evening,
I am here today with a technique. For those who don't know me, I started my crafting journey with candle making and till date do make candles, especially during the festive season.
Also in the last few years, I have been bitten by the decoupage bug. The reason being that it is the one art form which is very very versatile.
And today my project is a combination for my love for candle making and a passion for decoupage. So here we go...
I am sure you may have seen a lot of videos and projects on decoupage on candles. Most of the videos follow the following technique.
1. Cut the tissue to the required size and place it on the candle.
2. Put a wax paper on the image and hold the wax paper and the image in place with your hand.
3. Using an iron/heat tool, melt the image on to the candle.
And you have a beautifully decorated candle.
I did try this technique a few times but somehow this never worked for me. Mainly because of even a slight shift the napkin gets wrinkled and the image is not crisp. Also as at times working with small candles, there is a chance of accidents, especially with the heat tool.
So to ensure that my image is absolutely smooth and there are no wrinkles, this is what I came up with
1. Cut the tissue to the size and the motif you want it put on the candle. Ensure that the image is not cut with a scissors, and is torn with hand. This ensures that the image blends well.
2. Place the tissue on the candle and have the image perfectly aligned as you want it.
3. Taking modpodge, glue the tissue to the napkin. Ensure that the glue is very thin coat and is below the tissue. Do not put the glue on top of the tissue because it may bubble with heat. (Also follow the motto of - The lesser the better(for glue)).
4. Stick the tissue in parts especially if it's a large image. Gently smoothen the tissue on to the candle.
5. Once the tissue is stuck leave it to dry. You need to ensure that the glue is completely dry before you go to the next step.
6. Taking a heat tool, slowly run over the image. Do not stay on a particular area for too long - as it could lead to the candle melting more on that particular area.
7. Smoothen the hot wax with your hand as it embeds to get a smooth even surface.
8. Wait for the candle to cool and check if the entire napkin is blended on to the candle.
And voila your decoupage candle is ready.


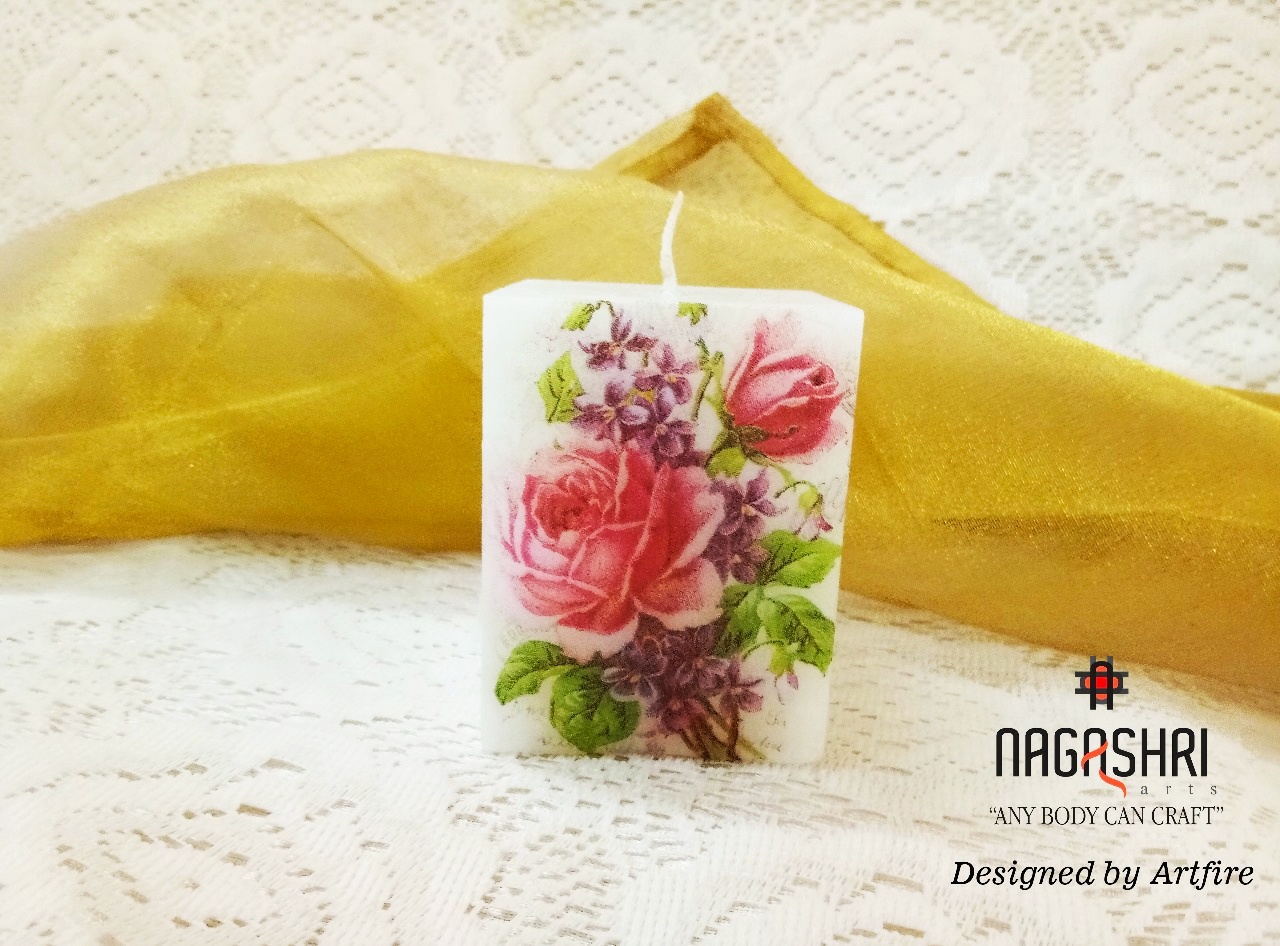
Here are some more examples of the same


I do hope you like this alternative technique. Do give it a try and let me know if it works for you too.
Supplies used are:
Decoupage Napkins
Candle
Modpodge
Heat Tool
Wishing you a wonderful day !!
